添加夜间模式按钮

步骤一 安装夜间模式插件 :

1
npm install hexo-next-darkmode --save

步骤二 往 NexT 主题的 _config.yml 配置文件里添加以下内容 :

1
2
3
4
5
6
7
8
9
10
11
12
13
14
15
16
17
# Darkmode JS
# For more information: https://github.com/rqh656418510/hexo-next-darkmode, https://github.com/sandoche/Darkmode.js
darkmode_js:
enable: true
bottom: '64px' # default: '32px'
right: 'unset' # default: '32px'
left: '32px' # default: 'unset'
time: '0.5s' # default: '0.3s'
mixColor: 'transparent' # default: '#fff'
backgroundColor: 'transparent' # default: '#fff'
buttonColorDark: '#100f2c' # default: '#100f2c'
buttonColorLight: '#fff' # default: '#fff'
isActivated: false # default false
saveInCookies: true # default: true
label: '🌓' # default: ''
autoMatchOsTheme: true # default: true
libUrl: # Set custom library cdn url for Darkmode.js
  • isActivated: true:默认激活暗黑/夜间模式,请始终与 saveInCookies: false、autoMatchOsTheme: false 一起使用;同时需要在 NexT 主题的 _config.yml 配置文件里设置 pjax: true,即启用 Pjax。

自定义css样式

暗黑/夜间模式激活后,插件会将 darkmode–activated CSS 类添加到 body 标签上,你可以利用它覆盖插件默认自带的样式(如下所示),这样就可以实现暗黑/夜间模式 CSS 样式的高度自定义。
在themes/next/source/css/_custom.styl添加以下代码

1
2
3
4
5
6
7
8
9
10
11
12
13
14
15
16
17
18
19
20
21
22
23
24
25
26
27
28
29
30
31
32
33
34
35
36
37
.darkmode--activated {
--body-bg-color: #282828;
--content-bg-color: #333;
--card-bg-color: #555;
--text-color: #ccc;
--blockquote-color: #bbb;
--link-color: #ccc;
--link-hover-color: #eee;
--brand-color: #ddd;
--brand-hover-color: #ddd;
--table-row-odd-bg-color: #282828;
--table-row-hover-bg-color: #363636;
--menu-item-bg-color: #555;
--btn-default-bg: #222;
--btn-default-color: #ccc;
--btn-default-border-color: #555;
--btn-default-hover-bg: #666;
--btn-default-hover-color: #ccc;
--btn-default-hover-border-color: #666;
--highlight-background: #282b2e;
--highlight-foreground: #a9b7c6;
--highlight-gutter-background: #34393d;
--highlight-gutter-foreground: #9ca9b6;
}

.darkmode--activated img {
opacity: 0.75;
}

.darkmode--activated img:hover {
opacity: 0.9;
}

.darkmode--activated code {
color: #69dbdc;
background: transparent;
}

取消夜间模式

  • 当某个标签不想使用暗黑/夜间模式时,可以添加 darkmode-ignore CSS 类到标签上。
1
<span class="darkmode-ignore">😬<span>
  • 当然你也可以使用 isolation: isolate; CSS 样式来忽略暗黑/夜间模式。
1
2
3
.button {
isolation: isolate;
}
  • 也可以使用这种 mix-blend-mode: difference CSS 样式来还原暗黑/夜间模式。
1
2
3
.button {
mix-blend-mode: difference;
}

常见问题

sudo字眼没有高光
原因

  1. 在 Markdown 文件中,如果代码块未指定语言类型,语法高亮引擎可能无法正确解析 sudo。
  2. 主题颜色

解决方案

  • 使用语法高亮主题
  1. 打开 NexT 的配置文件:
1
themes/next/_config.yml
  1. 找到以下设置并修改高亮主题为支持亮色的夜间样式,例如 dracula 或其他亮色主题:
1
2
3
highlight:
enable: true
theme: monokai
  1. 确保在代码块的开头指定正确的语言类型,例如 bash 或 shell:
1
2
3
4
5
sudo apt install mariadb-server mariadb-client -y

or

sudo apt install mariadb-server mariadb-client -y
  1. 保存后运行以下命令以重新生成:
1
2
3
hexo clean
hexo generate
hexo server

Welcome to Hexo! This is your very first post. Check documentation for more info. If you get any problems when using Hexo, you can find the answer in troubleshooting or you can ask me on GitHub.

Quick Start

Create a new post

1
$ hexo new "My New Post"

More info: Writing

Run server

1
$ hexo server

More info: Server

Generate static files

1
$ hexo generate

More info: Generating

Deploy to remote sites

1
$ hexo deploy

More info: Deployment

AX2012

This issues and request will be under Business Level 2 Gwladys

Dynamic365

This issues and request will be under Business Level 2 Gwladys

Salesforce

In salesforce, when a contact is created without account, it’s considered as private contacts.
So only the owner can edit contact’s information.

IT Support

Snooze Ticket
The status need to be changed to pending ( It still effect on SLA but at least customer know the status )

KPI Measurement
Decision behind management

Escalation
Provide information & what did you done or provide analysis the root cause if know before submit to Infra Level 2

Asset Management
Forcast for replacement budget how many asset need to be replace | warranty check if the asset having issue ( decided to have a new unit or warranty claim )

  • PO number can be trace on the ERP system
  • for identify how many asset provided to user when they are departure

FastTrack
Need to take action for the moment for special sitaution, after action taken remove the ticket from fast track doesn’t mean close ticket, just put it back to normal process

On Call Schedule
Not for solving as priority, just need to communication with incident case and get the information
-- on leave applied - drop an email to Michael
-- public holiday malaysia - update on calender and inform Michael a week before

-- How to manage incident - if a big incident please stay clam get the important details
-- understand change calendar what is happend for the event going to

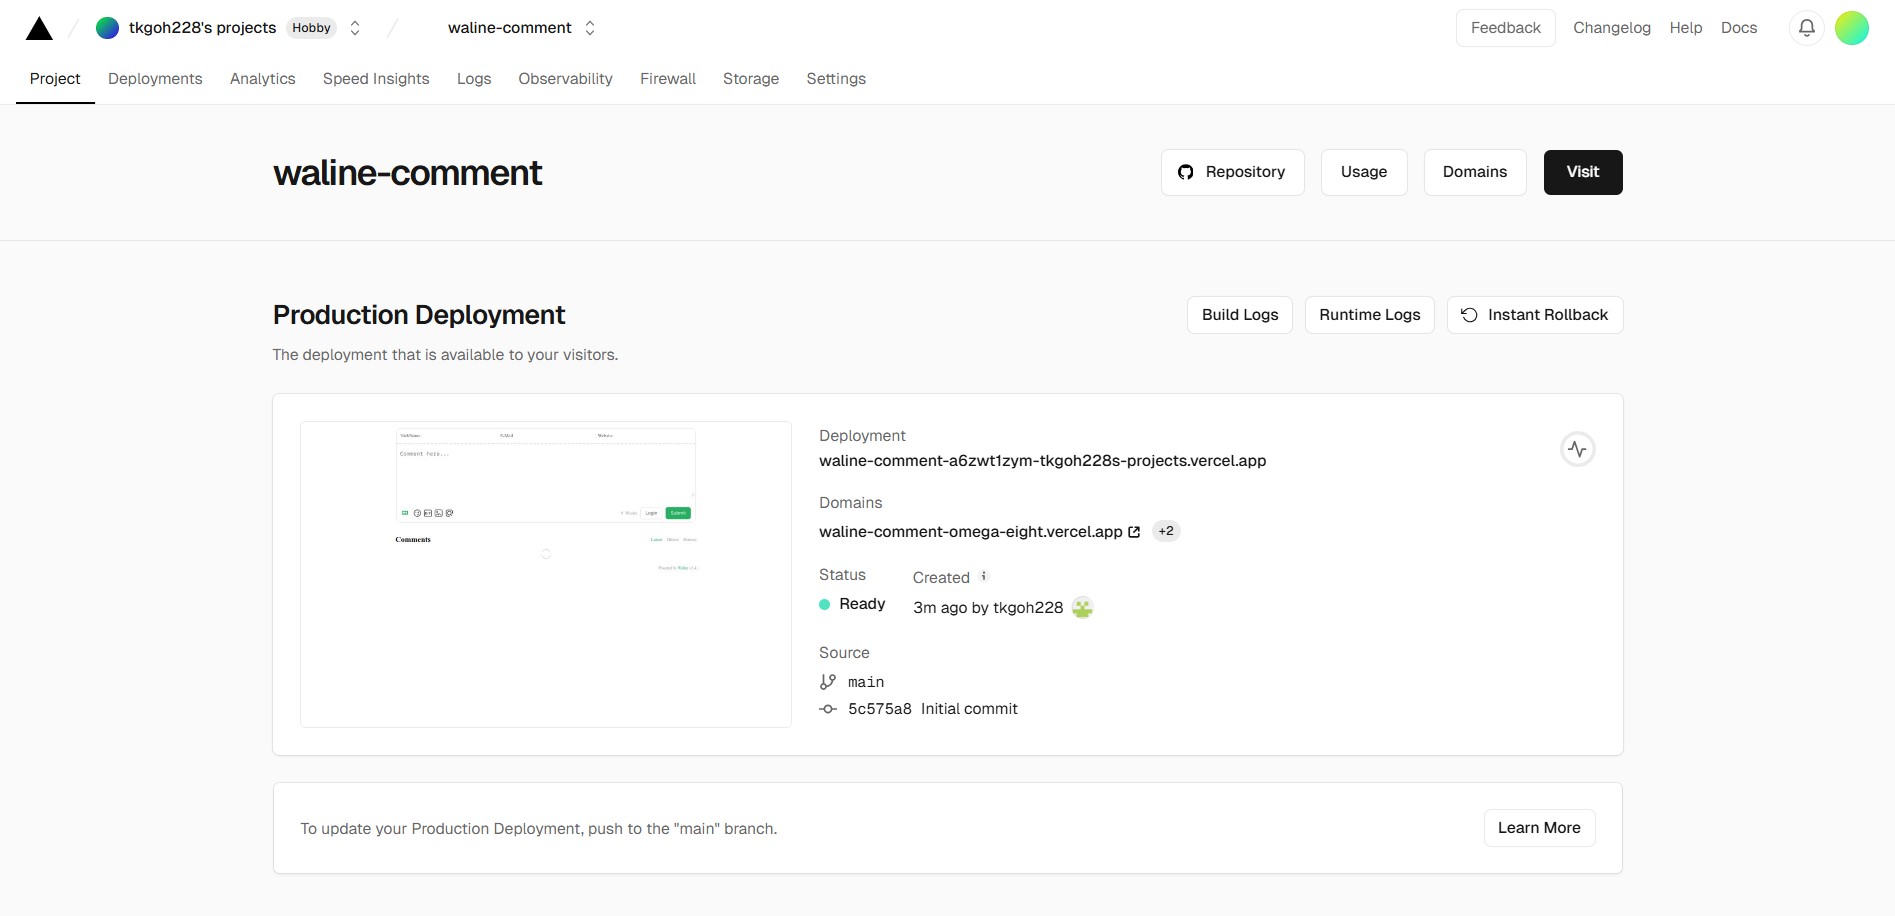
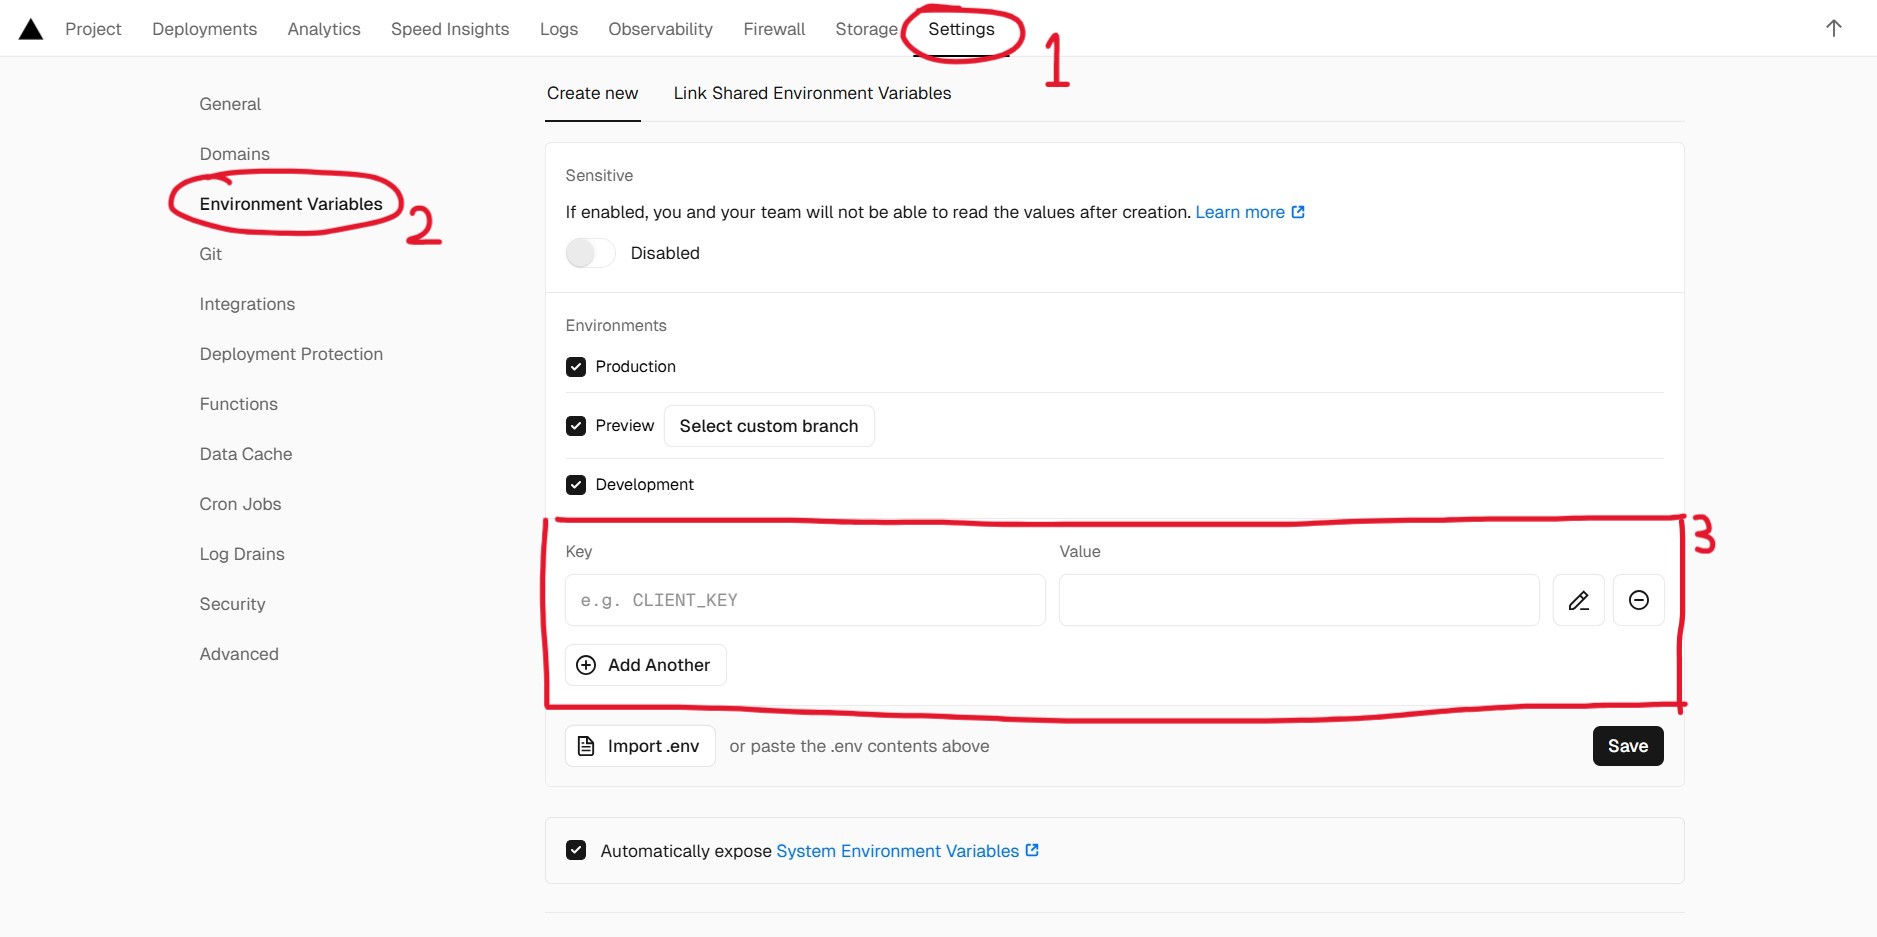
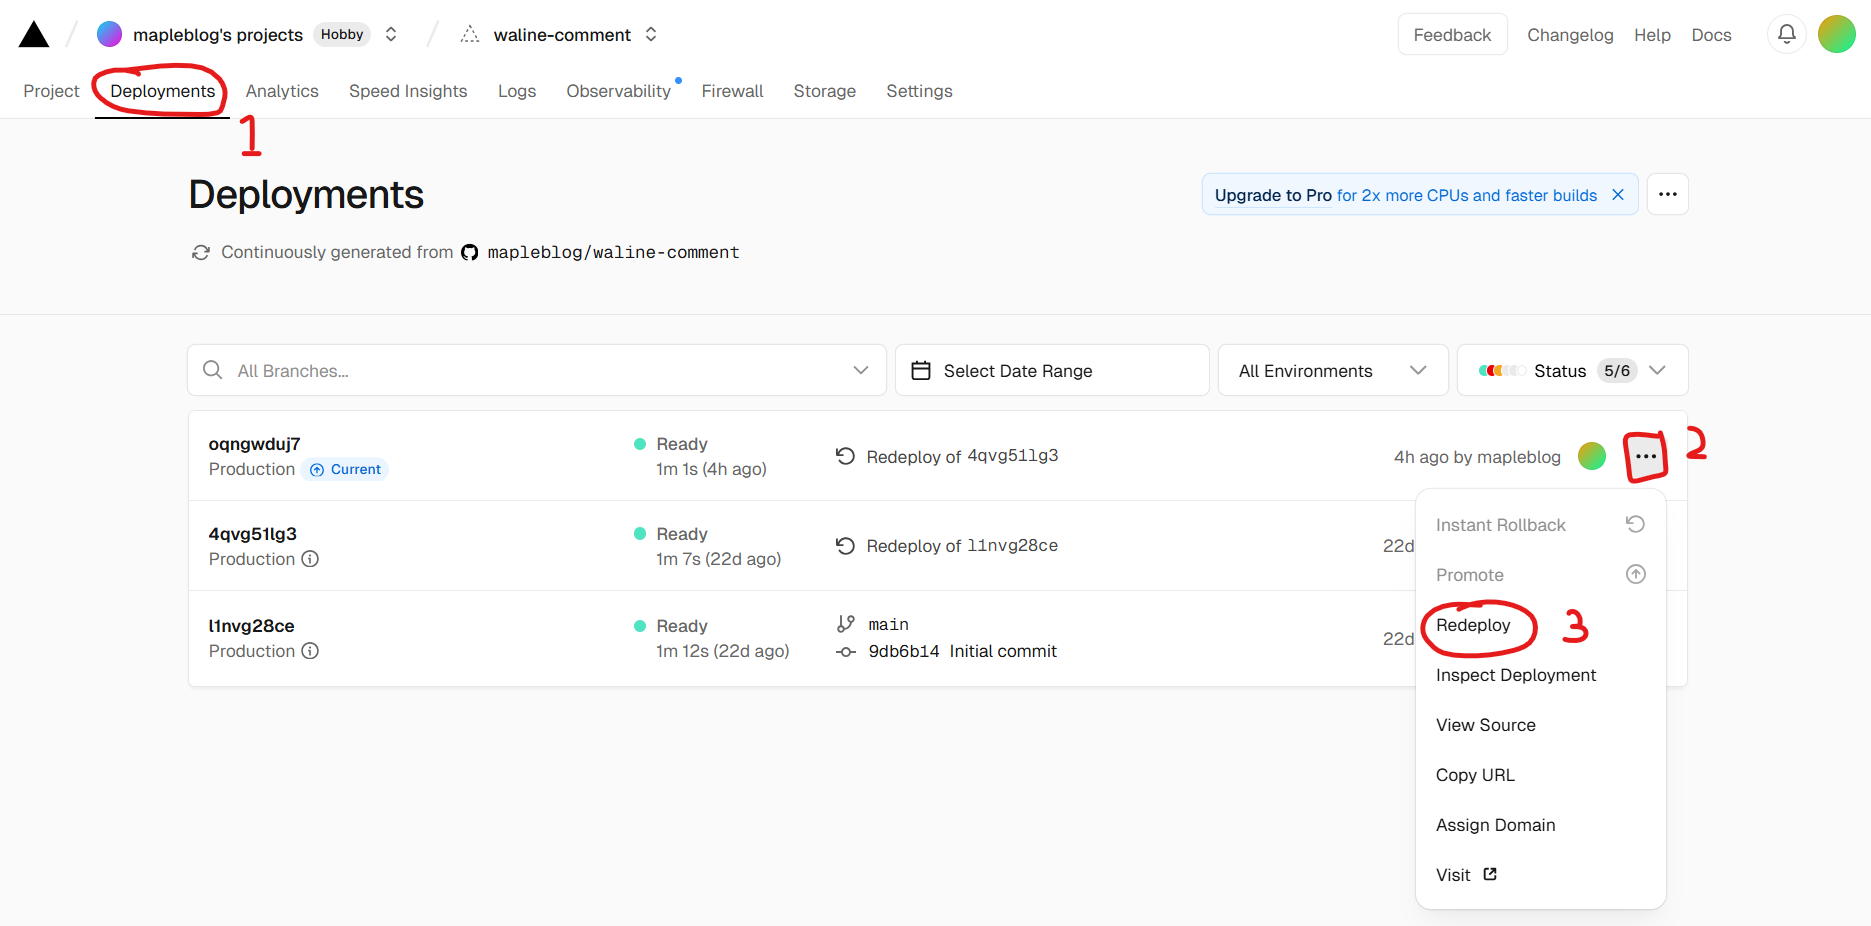
Portal platform information
Most of the platform can be found in bitwarden
kemp

kemp

kemp

kemp

kemp

kemp

Information

Datacenter 1 Bissen ( backup to AWS )
Datacenter 2 buterbourgs ( backup to AWS )
Datacenter 3 AWS (Backup) > download to on-preme such as NAS

  • bitwarden password manager platform introduction
  • Arc browser introduction
  • zoom channel introduction

1. 需要的材料

酱味材料

  • 麻油 sesame oil
  • 生抽 light soy sauce
  • 老抽 dark soy sauce
  • 耗油 oyster sauce
  • 绍兴酒 Wine hua diao

调味材料

  • 食盐 salt
  • 白胡椒粉 white perper powder
  • 蒜头 garlic
  • 老姜 ginger
  • 红葱头 red onion mini
  • 青葱 spring onion
  • 红辣椒 red chili
  • 香菇 mushroom

辅助材料

  • 玉米淀粉 corn starch
  • 木薯粉 potato starch

其他材料

  • 日本豆腐 japan toufu
  • 鸡蛋 eggs
  • 水 water
  • 猪肉 pork

需前提准备好

  • 1茶匙 生抽 || 1汤匙 生抽

  • 1/4茶匙 盐

  • 1/4茶匙 白胡椒粉 2份

  • 1茶匙 玉米淀粉

  • 1茶匙 麻油 2份

  • 3香菇 剁碎 ( 提前泡水 )

  • 3蒜辫 剁碎

  • 20克老姜 切碎

  • 1红葱头( 小粒 ) 切碎

  • 1束青葱 切段

  • 1红辣椒 切片

  • 2蛋豆腐 切块

  • 酱料调制
    – 2汤匙 蚝油
    – 1汤匙 绍兴酒
    – 1 茶匙 麻油
    – 1 茶匙 老抽
    – 1/4 白胡椒粉
    – 1汤匙 生抽

  • 木薯淀粉浆调制
    – 1 汤匙 木薯粉 ( 比较浓稠 比较跟 玉米淀粉 )
    – 2 汤匙 水

准备第一步

  • 将 猪肉剁碎
  • 1茶匙 生抽
  • 1/4茶匙 盐
  • 1/4茶匙 白胡椒粉
  • 1茶匙 玉米淀粉
  • 1茶匙 麻油
  • 保鲜膜放置30分钟

准备第二步

  • 油炸豆腐至黄金色

  • 开始爆香
    – 蒜末
    – 红葱头片
    – 姜末
    – 香菇

  • 加入腌制肉碎 一起煮到白透

  • 倒入调制酱料

  • 加入1 1/2杯水 煮至沸腾

  • 倒入木薯淀粉浆

最后一步

  • 烧铁板 + 刷油
  • 准备2 鸡蛋 然后打碎
  • 倒入铁板 煮到蛋液半凝固
  • 放入肉碎 + 豆腐 煮大概一分钟

# 完成✅

完成品

前提条件

  • Waline官方文档
  • LeanCloud账号
  • Versel服务端
  • 域名绑定 (非必须)

LeanCloud注册

  1. 登录注册 LeanCloud 国际版
  2. 点击左上角 创建应用
    • App name(必填)
    • 选择免费 Developer 开发板

创建应用

3. 选择刚创建的应用

选择应用

  1. 点击 Settings 然后 App Keys,记录 AppID | AppKey | MasterKey,后面会用到

选择应用

Vercel服务端部署

Deploy
Vercel
  1. 点击上方按钮,跳转到 Vercel 进行 Server端部署

  2. 登录 GitHub

登录GitHub

  1. 点击 Authorize Vercel

搜全Vercel访问GitHub

  1. Git Scope 选择 GitHub Account

添加GitHub账号

  1. 安装 Vercel全部 / 指定 的 Repositories

安装Vercel到GitHub Repo

  1. 确保 Git Scope 出现你的 GitHub账户名
    然后在 Private Repository Name 创建新的repo
    点击 Create

创建Vercel Repo

  1. 耐心地等待部署

开始部署Vercel

  1. 成功部署后,将会看到 Congratulations! 然后点击 Continue to Dashboard

成功部署

  1. 你将看到 Vercel 的主页面

Vercel主页

  1. 点击 Settings
    您需要在图中的3号创建三个新的环境变量: LEAN_IDLEAN_KEYLEAN_MASTER_KEY
    每个变量的值对应于从 LeanCloud 保存的凭据:
    APP ID 对应于 LEAN_ID 变量的值,
    APP Key 对应于 LEAN_KEY 变量的值,
    Master Key 对应于 LEAN_MASTER_KEY 变量的值。

Vercel设置

  1. 一旦环境变量配置完成,您需要重新部署您的应用程序。点击项目顶部的 Deployments 标签,在列表顶部找到最新的部署记录,然后在右侧的下拉菜单中选择 Redeploy

vercel重部署

  1. 如果一切正常,Vercel 会将您重定向到概览页面以开始重新部署。等待 STATUS 状态更改为 Ready。现在,您可以点击 Visit 访问该网站。此链接就是您的服务器地址。

重部署完毕

西方和东方工作思维

东方思维讲究能者多劳
身为东方人在东方文化的企业工作一点也不奇怪,也逐渐潜移默化和接受所谓的micro manage,权力剥夺,人力压榨,没有职业发展机会,没有人权。

其实又何尝不是一直在自己的内心拉扯,如何寻找机会,如何向往更好的去处,如何提升自己的价值。
我一直都相信价值是最有利的资本也是别人偷不走,很肯定的说这跟自己本身没有亮丽的学历缺点而让我琢磨到到的一个促使我一直在学习的动力点。

无可否认有能力优秀,能言善道,职场的佼佼者比比皆是,但是也有很多态度让人不敢恭维。
我个人对态度 和 能力之间的区别是,能力比心态更容易修。

修心态是通过学习,然后自己悟,悟,悟,再悟 最后也未必悟到
修能力是通过学习,不断实践,然后总结记录

💢 例子:
以前哥哥教我数学教到他吐血我还是不明白,有两个可能性,一 哥哥的教学方法不适合我, 二 我自己悟性低 所以需要自己去寻找合适自己的教学方式

你看,像这种基本的生活中的一些学科还是生活技能是属于静态的有些时候我们都需要不断地去学做教才知道它的原理

更何况是人的心态是属于动态,无时无刻都在变的,你认为自己用20年形成的心态,价值观可能在短短的几个月时间扭转吗 ? 不是没有可能,我说概率如果10人中只有2人做到, 那你要设想如何变成那2人的其中一位 ?
再不然就是你人生发生某事情对你深受影响造成你的心态改变, 那么这个概率又是多少 ?

所以 这就是我认为能力比心态更容易修,心态比能力更重要

世界所有的事物可以说是以概率来衡量,

  • 例如买马票,得奖机率是万分之一,如何提升中奖概率 ? 买越多越好

  • 应征工作被录取的机率视你的能力是否超越其他竞争者还是低于竞争者,如何提升被录取的概率 ? 自我提升价值

话说为什么会扯偏到概率,因为世事无绝对,你目前的风光有可能一瞬间就风光不再,
默默无闻的人也可能一瞬间风生水起,这就是宇宙的规律,所以努力修自己的一颗平凡心。

修行 是一辈子的功课


西方思维文化讲究人权
2023年踏入西方企业,发现挺与众不同虽然称不上神仙公司,庆幸的是我的上司是西方人为此或多或少都得到了一些人权的重视和保护
可以说是反打东方文化,他们重视个人人权,尊重和授权个人的专业,他们也不接受跨领域工作内容,没有所谓顺便帮忙,是该部门的范围就是该部门的责任。他们不提倡放工后时间工作,除非紧急事件,但西方人很是steady即使天塌下来也是被当被盖。

个人职业发展这一块也是不一样,在东方文化多数是空降比你有经验的人当你的领导,在西方文化他们是重视提拔旧人然后再聘请新人让你有机会一带一路学习领导+深入去学习和胜任新任务和挑战。

他们也蛮重视个人感受 所以他们很能接受负面反馈哪怕对你来说只是皮毛蒜头,你无需担心他们对你印象不好或者针对你,当然前提是有理的反馈不是无中生有。 他们会进行一对一沟通了解哪个环节出问题并解决,整体上都感受得到他们要解决的诚意。

与世长辞

我一直都相信

Introduction

**

Types of Databases

  • String 字符串
  • Integer 整数
  • Float 浮点数
  • Boolean 布尔值
  • Tuple 元组
  • List 列表
  • Dictionary 字典
  • Set 集合

If…Else

Conditions and If statements
Python supports the usual logical conditions from mathematics:

  • Equals: a == b
  • Not Equals: a != b
  • Less than: a < b
  • Less than or equal to: a <= b
  • Greater than: a > b
  • Greater than or equal to: a >= b

Example
If statement:

1
2
3
4
5
6
7
# Example
# If statement:

a = 33
b = 200
if b > a:
print("b is greater than a")

Indentation
Python relies on indentation (whitespace at the beginning of a line) to define scope in the code.
If statement, without indentation (will raise an error):

a = 33
b = 200
if b > a:
print("b is greater than a") # you will get an error

Functions (函数)

自定义函数如果没有指定返回结果,默认返回空值None。
如果返回指定的数据如字典,列表,字符串,整数,浮点数 就可以对它们进行处理

如返回的数据是字典就会赋值给变量,
该变量就可以进行字典的处理

位置参数 (args)

  • *args:接收任意数量的 位置参数” 参数会被作为一个元组传递给函数。
  • *是语法标记,args 是约定的名字,可以用其他名称代替(如 *params),但 *args 是社区推荐的写法。

关键字参数 (kwargs)

  • **kwargs 允许函数接受任意数量的 关键字参数,参数会被作为一个字典传递给函数。
  • **是语法标记,kwargs 是约定的名字,也可以用其他名称代替(如 **options)

For Loops (for 循环)

While Loops (while 循环)

1. 事前准备

1.1 GitHub(必须,你需要注册一个GitHub帐号)
1.2 Cloudflare (非必须,你需要注册一个Cloudflare帐号,这样你就可以将博客部署在CF的CDN里加速,但是你也可以直接使用GitHub.io分配的域名)
1.3 域名 (非必须,你也可以使用免费域名,或者GitHub.io或Pages.dev分配的域名也可以)

2. 软件支持

2.1 Node.js必须Official link

  • 打开Node官网,下载和自己系统相配的Node的安装程序,否则会出现安装问题。
  • 下载后安装,安装的目录可以使用默认目录 C:/Program Files/nodejs/
  • 安装完成后,检查是否安装成功。在键盘按下 Win + R 键,输入 CMD ,然后回车,打开CMD窗口,执行 node -v 命令,看到版本信息,则说明安装成功。
    成功安装
  • 修改npm源。npm下载各种模块。(用于在中国地区, 因为下载速度较慢)
    1
    npm config set registry https://mirrors.huaweicloud.com/repository/npm/

2.2 Git必须Official link

  • 下载后傻瓜式安装Git即可,安装的目录最好使用默认目录 C:/Program Files/Git
  • 点击电脑左下角开始即可看见Git CMD、Git Bash、Git GUI。
    • Git CMD 是windows 命令行的指令风格
    • Git Bash 是linux系统的指令风格(建议使用)
    • Git GUI 是图形化界面(新手学习不建议使用)

2.3 VSCode非必须,这是一款轻量型的代码编辑器,可以帮助你养成一个很好的编程习惯) Official link

3. 配置 Git 密钥并连接至 Github

3.1 查看git的全局配置

1
2
3
git config -l  //查看所有配置
git config --system --list //查看系统配置
git config --global --list //查看用户(全局)配置

GitBash


3.2 配置用户名和邮箱

1
2
git config --global user.name "你的用户名"
git config --global user.email "你的邮箱"

通过 git config -l 检查是否配置成功。( 确保看到user.name 和 user.email,没看到代表没有配置到
git配置


3.3 配置公钥连接Github

  1. 执行以下命令生成 ssh公钥,此公钥用于你的计算机连接Github
    1
    ssh-keygen -t rsa -C "你的github邮箱"
    提示 Enter file in which to save the key 直接 一路回车 即可,新手小白不推荐设置密钥
    生成ssh-key
    之后打开C盘下用户文件夹下的.ssh的文件夹,会看到以下文件
    • id_rsa 私钥
    • id_rsa.pub 公钥
      .shh路径
      用记事本打开上述图片中的公钥id_rsa.pub,复制里面的内容,然后开始在github中配置ssh密钥。

  1. SSH KEY 配置到 GitHub
    — 进入 github > 点击 右上角头像
    打开github设置

— 选择 settings > 进入设置页选择
创建sshkey


— 左边栏选择 SSH and GPG keys > 点击 New SSH Key
完成创建


— 这里必须要有展示你刚创建的记录
ssh记录


  1. 测试链接,输入以下命令
    1
    ssh -T git@github.com
    第一次连接会提示 Are you sure you want to continue connecting (yes/no/[fingerprint])? ,输入 yes 即可
    [暂无图片可展示,以后补上]

    出现连接到账户的信息,说明已经大功告成,至此完成了环境准备工作。
    [暂无图片可展示,以后补上]

3.4 创建GitHub.io仓库

  • 点击右上角的 + 按钮,选择New repository,创建一个 <用户名>.github.io 的仓库。

  • 仓库名字的格式必须为: <用户名>.github.io (注意:前缀必须为用户名,此为预览博客需要,后期可修改仓库名)

  • 可见性必须选择 Public 方便第一次部署检查问题,点击 Creat repository 进行创建即可

      [图片上传]
    

4. 初始化 Hexo 博客

  • 创建一个文件夹来保存博客源码(我这里选的路径为D:/Hexo-Blog),在文件夹内右键鼠标,选择Open Git Bash here

    1
    npm install -g hexo-cli && hexo -v
      [图片上传]  
    
  • Git BASH输入如下命令安装 Hexo

      [图片上传]  
    
  • 安装完后输入hexo -v验证是否安装成功。

      [图片上传]  
    
  • 初始化 Hexo 项目安装相关依赖。

    1
    2
    3
    hexo init blog-demo
    cd blog-demo
    npm i
      [图片上传]  
    
  • 初始化项目后,blog-demo有如下结构:

      [图片上传]<br>
    
  • node_modules:依赖包

  • scaffolds:生成文章的一些模板

  • source:用来存放你的文章

  • themes:主题

  • .npmignore:发布时忽略的文件(可忽略)

  • _config.landscape.yml:主题的配置文件

  • config.yml:博客的配置文件

  • package.json:项目名称、描述、版本、运行和开发等信

  • 输入hexo cl && hexo s启动项目

      [图片上传]<br>
    
  • 打开浏览器,输入地址:http://localhost:4000/ ,看到下面的效果,说明你的博客已经构建成功了。

      [图片上传]<br>
    

5.将静态博客挂载到 GitHub Pages

5.1 安装 hexo-deployer-git

1
npm install hexo-deployer-git --save

5.2 修改 _config.yml 文件
在blog-demo目录下的_config.yml,就是整个Hexo框架的配置文件了。可以在里面修改大部分的配置。详细可参考官方的配置描述。
修改最后一行的配置,将repository修改为你自己的github项目地址即可,还有分支要改为main代表主分支(注意缩进)。

1
2
3
4
deploy:
type: git
repository: git@github.com:cmliussss2024/cmliussss2024.github.io.git
branch: main

5.3 修改好配置后,运行如下命令,将代码部署到 GitHub(Hexo三连)。

1
2
3
4
5
6
7
// Git BASH终端
hexo clean && hexo generate && hexo deploy

// 或者

// VSCODE终端
hexo cl; hexo g; hexo d
  • hexo clean:删除之前生成的文件,可以用hexo cl缩写。

  • hexo generate:生成静态文章,可以用hexo g缩写

  • hexo deploy:部署文章,可以用hexo d缩写

      [图片上传]<br>
    

如果出现Deploy done,则说明部署成功了。

    [图片上传]<br>

稍等两分钟,打开浏览器访问:https://mapleblog.github.io ,这时候我们就可以看到博客内容了。

    [图片上传]<br>

6.将静态博客挂载到 Cloudflare Pages

6.1 在 Workers 和 Pages 中选择 Pages连接到 Git

    [图片上传]
    [图片上传]<br>

6.2 然后登录你Blog仓库对应的GitHub帐号

    [图片上传]
    [图片上传]<br>

6.3 点击保存并部署后等待部署完成即可。

    [图片上传]<br>

6.4 提示成功!您的项目已部署到以下区域:全球后,浏览器访问:https://cmliussss2024-github-io.pages.dev ,这时候我们就可以看到博客内容了。

    [图片上传]<br>

这时你也就可以将你的<用户名>.github.io的仓库设置为Private私库了

6.5 如果你有自己的域名,你可以在这里绑定你自己的自定义域,即可

    [图片上传]<br>
0%
s